
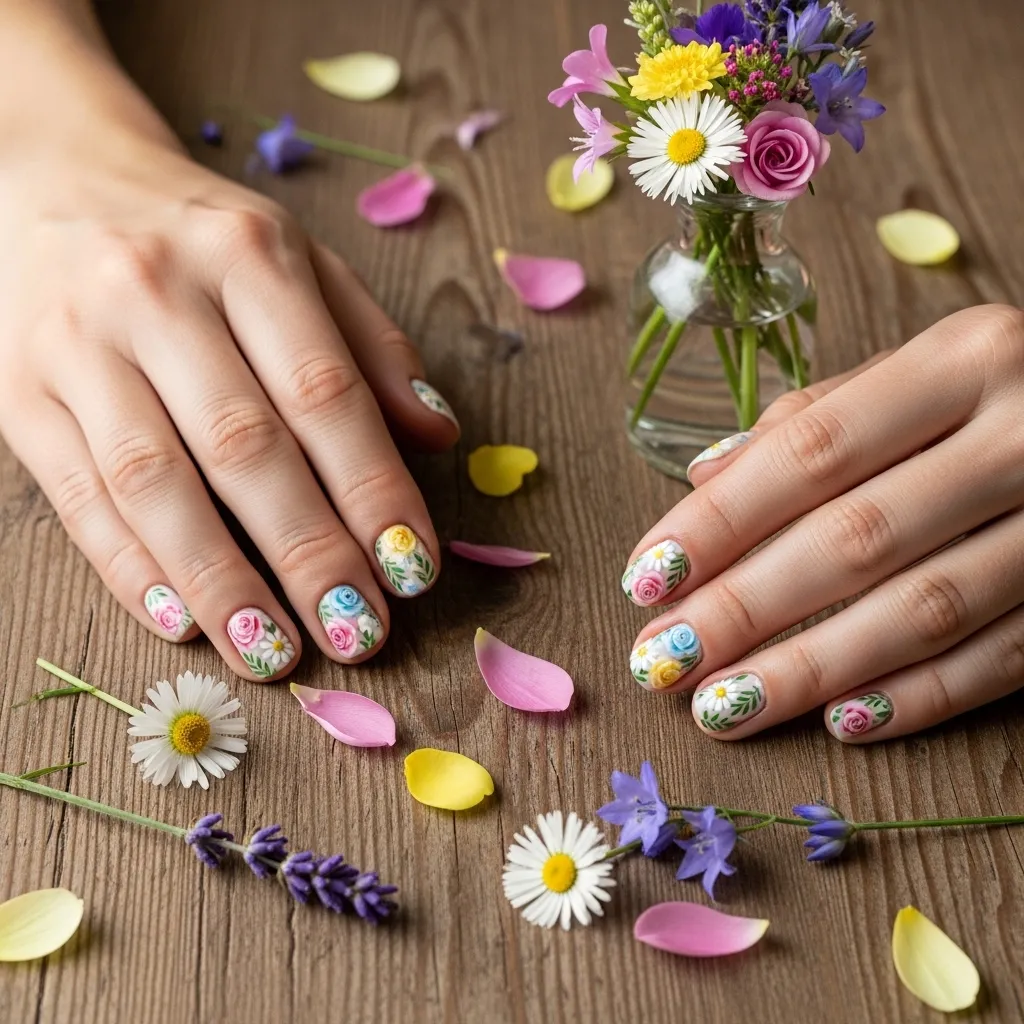
I don’t know about you, but the moment I see the first blooms of spring, my mind immediately goes to my nails. There’s something so joyful about carrying a little garden on your fingertips. Floral nail art doesn’t have to be fussy or overly complicated—it can be as simple as a single delicate daisy or as bold as a full bouquet.
I’ve gathered my all-time favorite floral nail ideas, from minimalist designs you can try at home to stunning, detailed art that’s perfect for a salon visit. Whether you’re a nail art newbie or a seasoned pro, there’s a floral look here waiting to bloom on your hands. Let’s get inspired!
[[IMG:IMG01]]
1. The Classic French Tip with a Floral Twist
Give the timeless French manicure a fresh, floral update. Instead of a plain white tip, paint a thin line of delicate flowers along the edge. Think tiny daisies, lavender sprigs, or simple five-petal blossoms.
I love this for its elegance and subtlety. It’s perfect for the office or a wedding, offering just a whisper of color and pattern. Try it on a soft nude or blush pink base for the ultimate chic look.
2. Minimalist Single Bloom Accent Nail
Sometimes, less is truly more. Paint all but one nail a solid, creamy color. On your accent nail (I always choose my ring finger), paint a single, perfect flower.
This idea is my go-to when I want something special without being overwhelming. A single rose, a sunflower, or a cherry blossom branch makes such a beautiful, focused statement. It’s also a great way to practice your detail work!

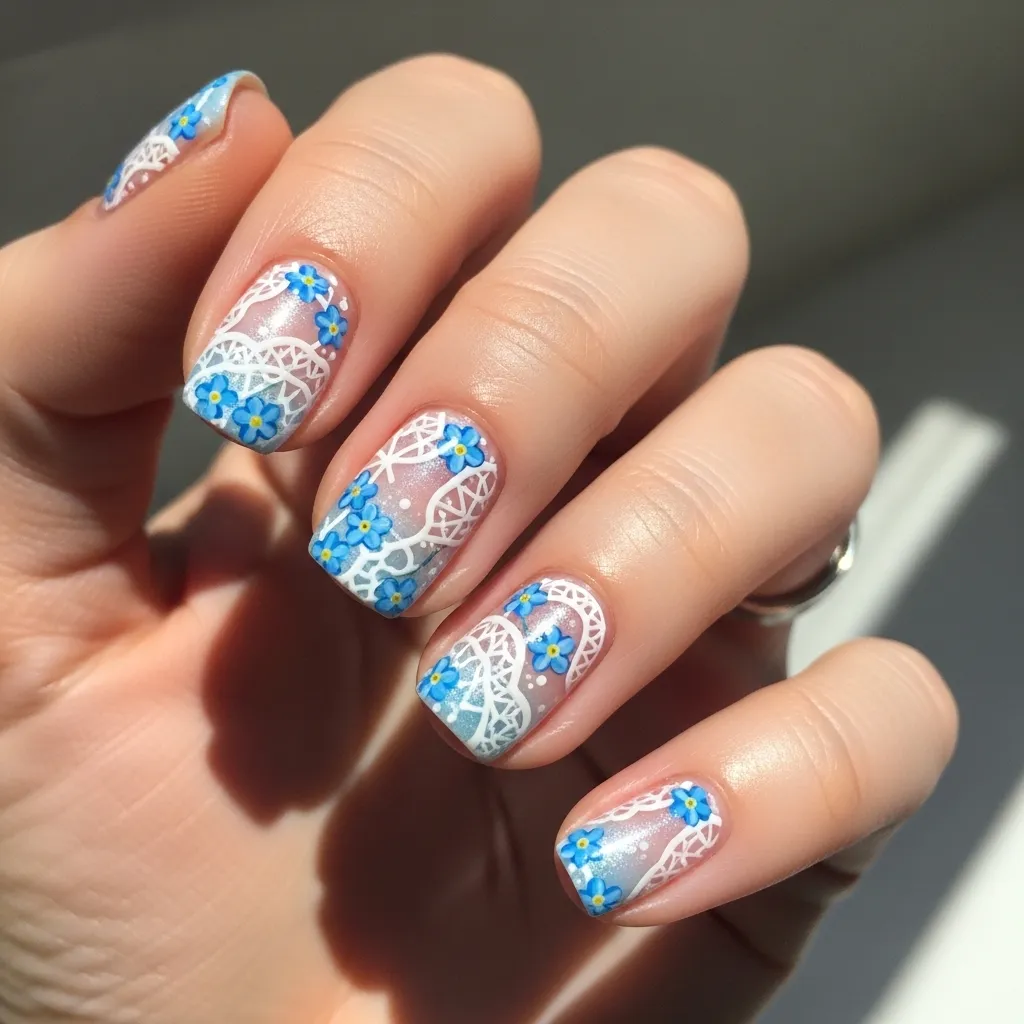
3. Dainty Floral Lace
Channel vintage romance with a lace-inspired floral design. Imagine intricate, web-like vines and tiny flowers trailing across a pale base, like ivory, baby blue, or mint green.
This look is incredibly feminine and delicate. You can achieve it with a fine nail art brush or even use lace-textured stickers for an easier application. It feels like wearing a precious heirloom on your nails.
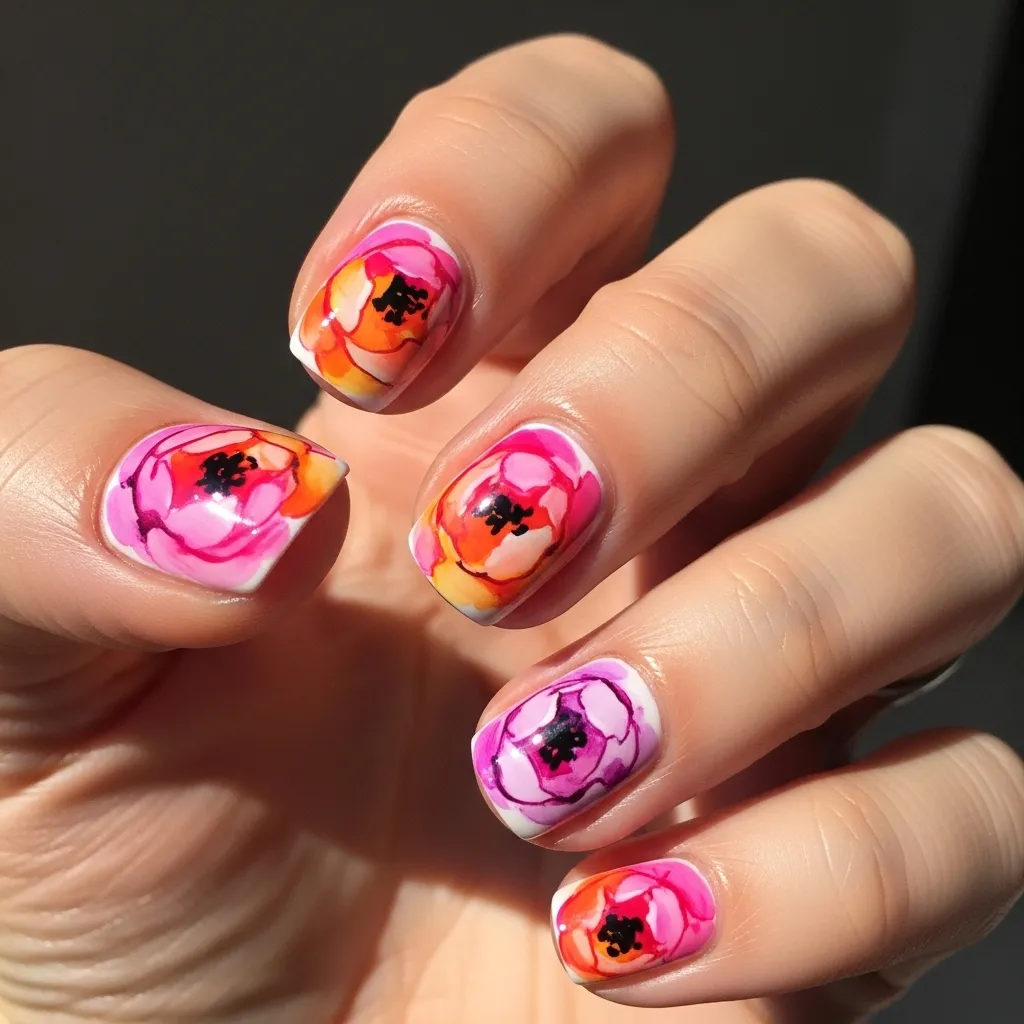
4. Bold & Abstract Watercolor Florals
Don’t worry about perfect lines! This style is all about soft, blended colors that mimic watercolor paintings. Use a small sponge to dab on pinks, purples, and blues, then add loose floral shapes with a brush.
I adore this idea because it’s artistic and forgiving. No two nails will look exactly the same, and the dreamy, blended effect is so eye-catching. It’s a true work of art for your hands.
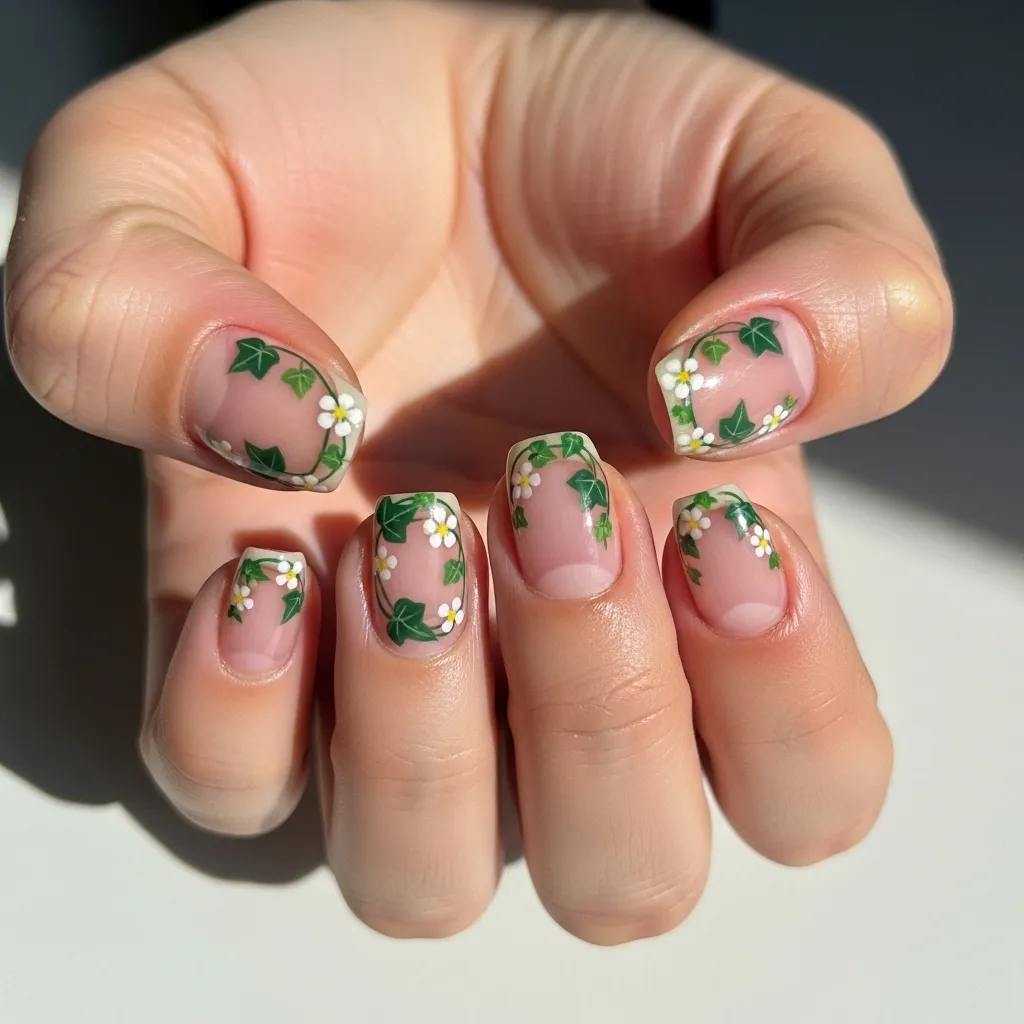
5. Negative Space Botanical
Let your natural nail be part of the design. Paint a portion of your nail with a clear or sheer polish, and use the negative space as the background for your florals.
This modern approach makes the design feel fresh and light. Try painting a diagonal section or a moon shape at the base of your nail, and fill the colored part with leafy vines and small buds. It’s chic and feels very current.

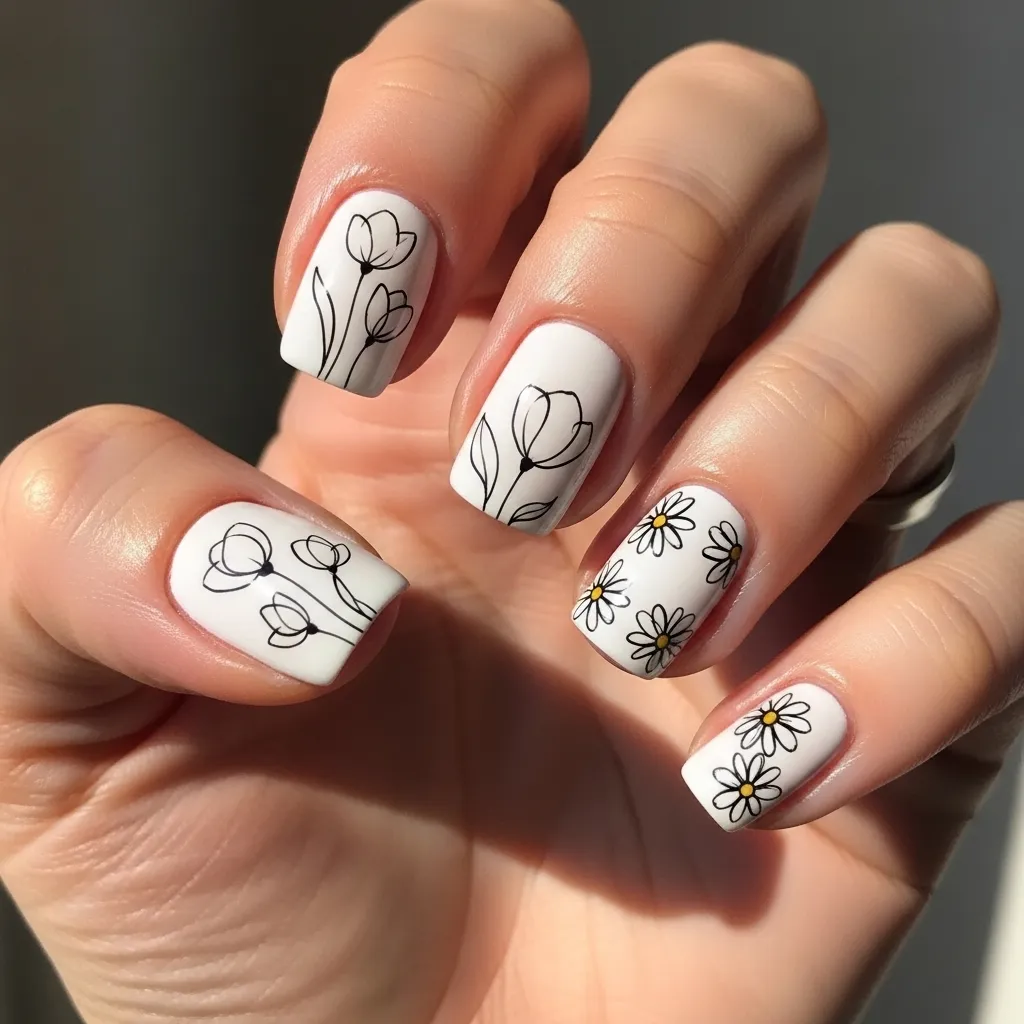
6. Sunshine Yellow Daisies
Nothing says “happy nails” like bright yellow daisies! Paint your nails a crisp white or a sky blue, then add cheerful daisies with yellow centers and white petals.
This design is an instant mood booster. It’s playful, friendly, and perfect for summer picnics or a day at the beach. Simple dotting tools can help you create the perfect daisy petals.
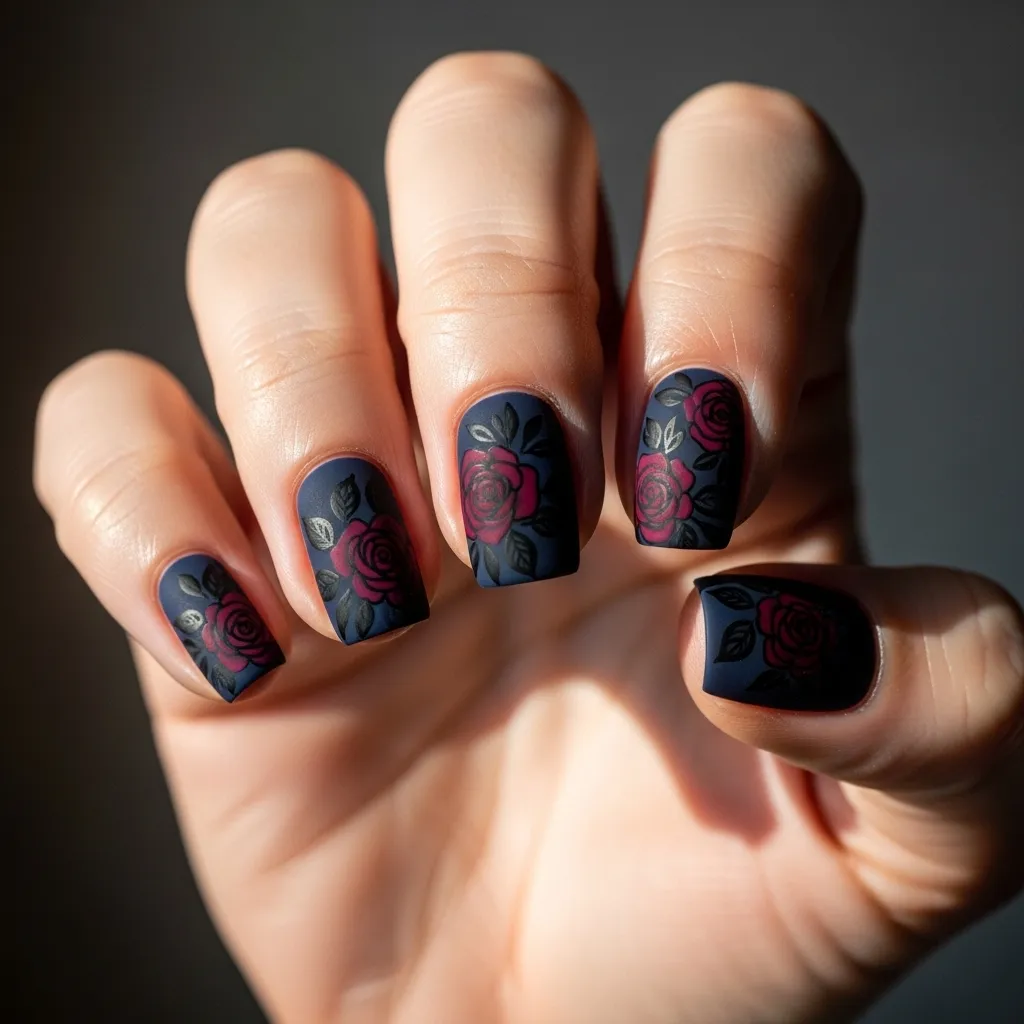
7. Moody Dark Florals
Florals aren’t just for pastels! Try deep, rich bases like navy blue, forest green, or black. Then, paint your flowers in contrasting shades—think white roses, blood-red poppies, or metallic gold vines.
This is my favorite for fall and winter, or when I want something with a bit of edge. The contrast is dramatic and stunning, proving that floral nails can be powerful and bold, not just pretty.

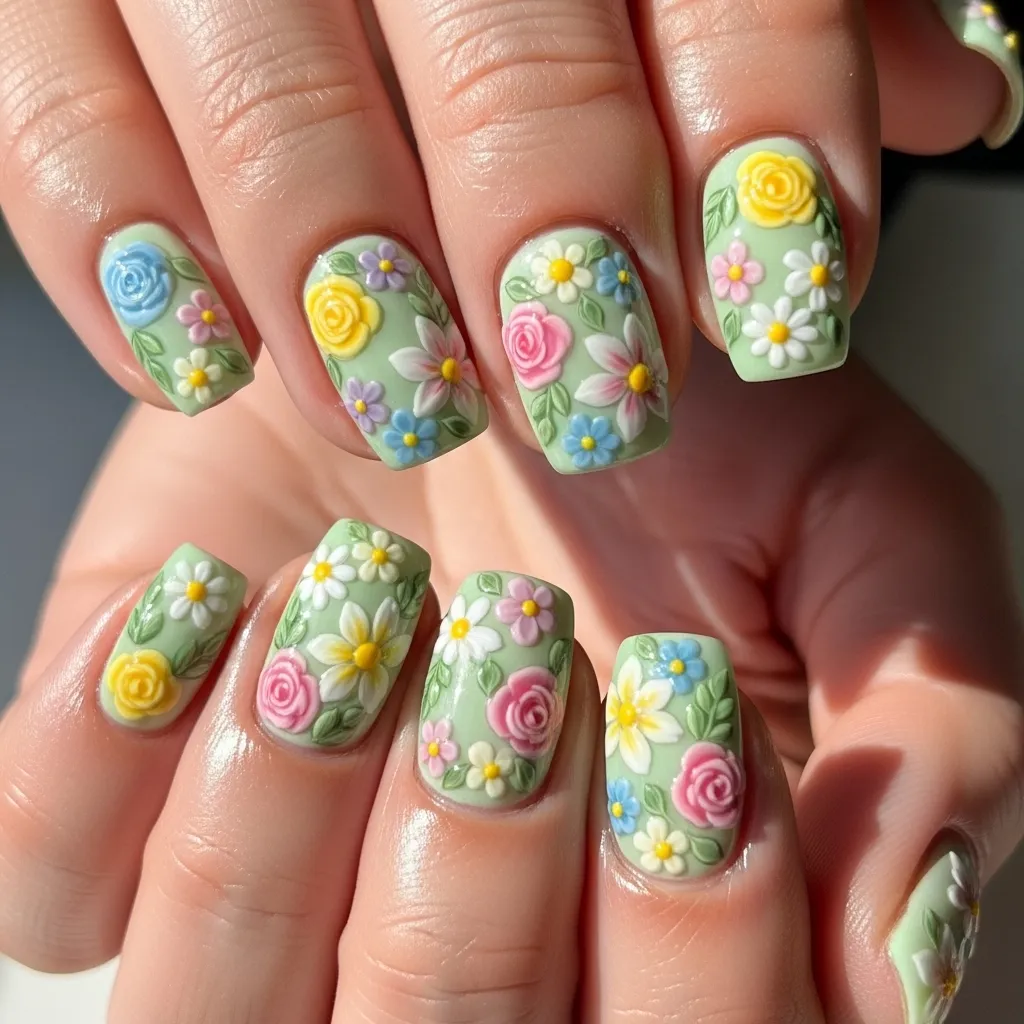
8. A Full Garden Bouquet
Go all out! Cover each nail with a different flower or a mix of blooms to create a full bouquet effect. Combine roses, tulips, daisies, and forget-me-nots for a lush, garden-party vibe.
This is the ultimate statement manicure. It’s detailed, colorful, and guaranteed to get compliments. I recommend this for a special occasion or when you just want to feel extravagantly joyful.
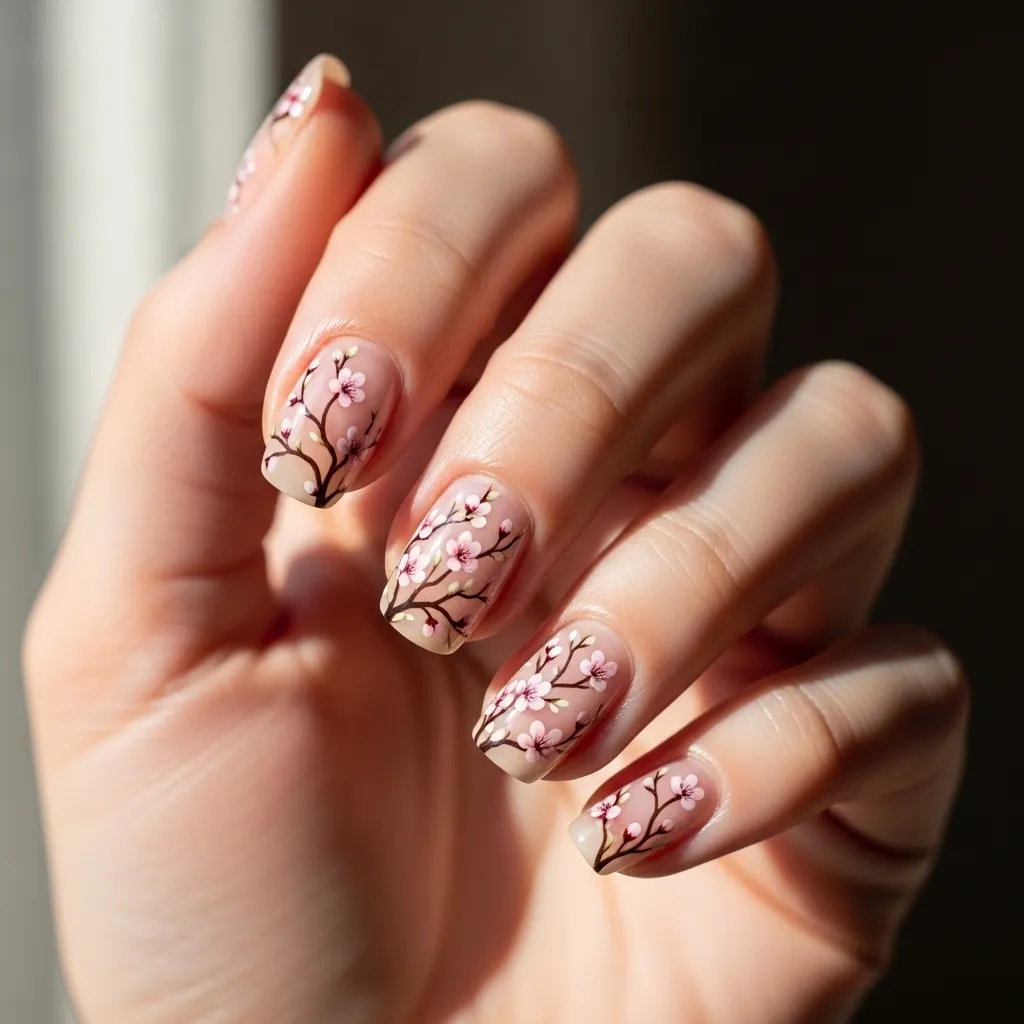
9. Delicate Cherry Blossom Branches
Capture the serene beauty of spring with cherry blossom nails. Use a thin brush to paint graceful, winding branches on a light pink or nude base, then add tiny clusters of pink and white blossoms.
This design is so graceful and poetic. It’s understated yet full of delicate detail. It reminds me of a peaceful walk in a spring garden, and it looks beautiful on shorter nail lengths, too.
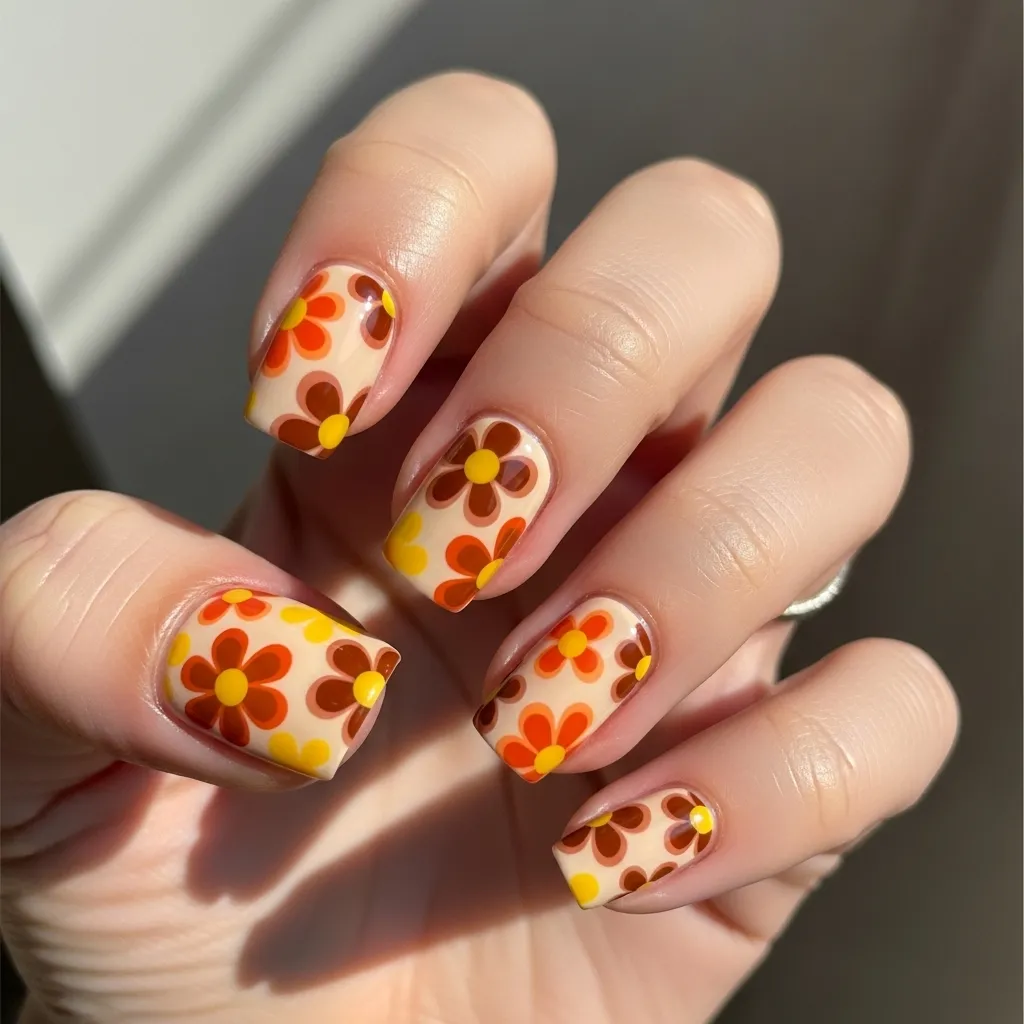
10. 70s-Inspired Retro Florals
Think big, bold shapes and psychedelic colors! Paint large, stylized flowers with orange, mustard yellow, avocado green, and brown on a creamy off-white background.
This idea is so fun and nostalgic. It’s a major trend comeback and adds a playful, vintage touch to any outfit. Don’t be afraid to mix patterns and go big with your flower shapes.
11. Glitter Gradient Garden
Combine the magic of glitter with soft florals. Create an ombré effect using a glitter polish that fades from the cuticle to the middle of the nail. Then, paint small, simple flowers over the glittery base near your tips.
I love the sparkle and dimension this adds. The glitter acts like dew or sunlight on the petals. It’s a glamorous take on floral nails that’s perfect for a party or a night out.
12. Simple Line Art Flowers
Embrace a modern, graphic style. Using a single color (black or a dark tone works great), paint the outlines of flowers and leaves on a bare or neutral nail. No filling in required!
This minimalist look is clean, contemporary, and surprisingly easy to do. It feels like a sketch or a tattoo for your nails. It’s effortlessly cool and goes with absolutely everything.
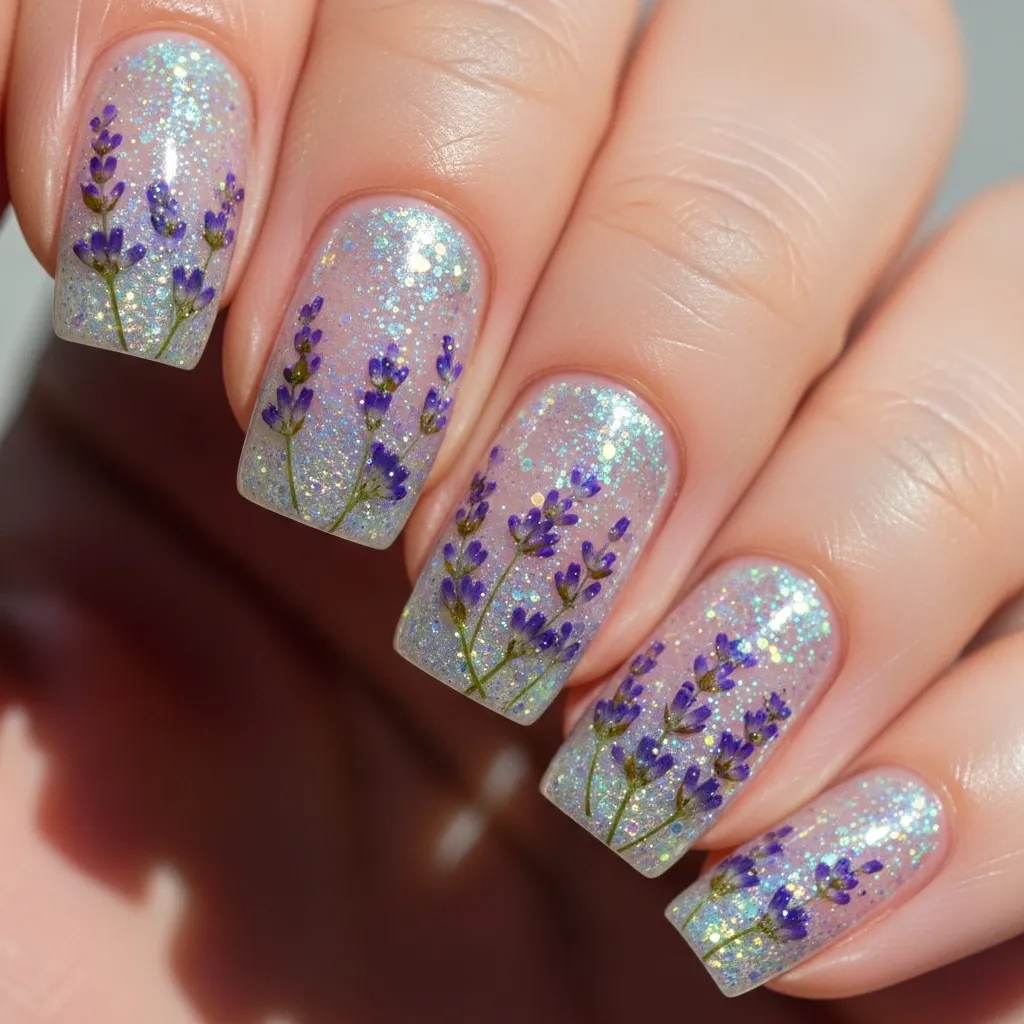
13. Pressed Flower Nails
For a truly organic look, use real dried flowers! Apply a thick layer of clear gel or top coat, carefully place tiny pressed flower pieces onto the nail, and seal them in with more layers of top coat.
This creates a beautiful, translucent, “botanical specimen” effect. Every manicure is unique, and you can literally wear your favorite flowers. It’s a beautiful conversation starter and feels very special.
Ready to Bloom
From subtle accents to full garden parties on your fingertips, there’s a floral nail idea for every mood and skill level. My best tip? Start simple, have fun with it, and don’t be afraid to mix colors and styles. Your nails are a tiny canvas for a big dose of happiness. Which idea will you try first?
Floral Nails FAQ
Q: I’m a beginner. What’s the easiest floral design to try?
A: Definitely the Single Bloom Accent Nail or Simple Line Art. They require minimal tools and let you focus on one small design element at a time.
Q: What tools do I need to create these at home?
A: A fine detail brush is key! A dotting tool is also incredibly helpful for making perfect petals and centers. Start with a basic nail art kit.
Q: How can I make my floral nail art last longer?
A: Always use a good base coat and seal your design with a high-quality top coat. Wrapping the tip of your nail with polish also helps prevent chipping.
Q: Can I do floral designs on short nails?
A: Absolutely! Designs like cherry blossoms, minimalist line art, or a single tiny flower are perfect for shorter lengths. They can actually look very elegant and chic.
Q: What if I make a mistake?
A: Keep a small brush dipped in nail polish remover nearby to clean up edges. For small smudges, you can often paint over them with your background color and try again once it’s dry. Practice makes perfect!