
Getting my little one to sit still can be a mission, but nail art is our secret weapon. It’s a special activity where we get to be creative together, and the results are always so much fun. I love seeing her face light up when she shows off her tiny, decorated nails.
The key is keeping it simple, quick, and super kid-friendly. You don’t need fancy tools—just a few basic polishes, some dotting tools (or a bobby pin!), and a whole lot of imagination. These ideas are perfect for a rainy day, a sleepover, or just because. Let’s dive into our favorite looks!
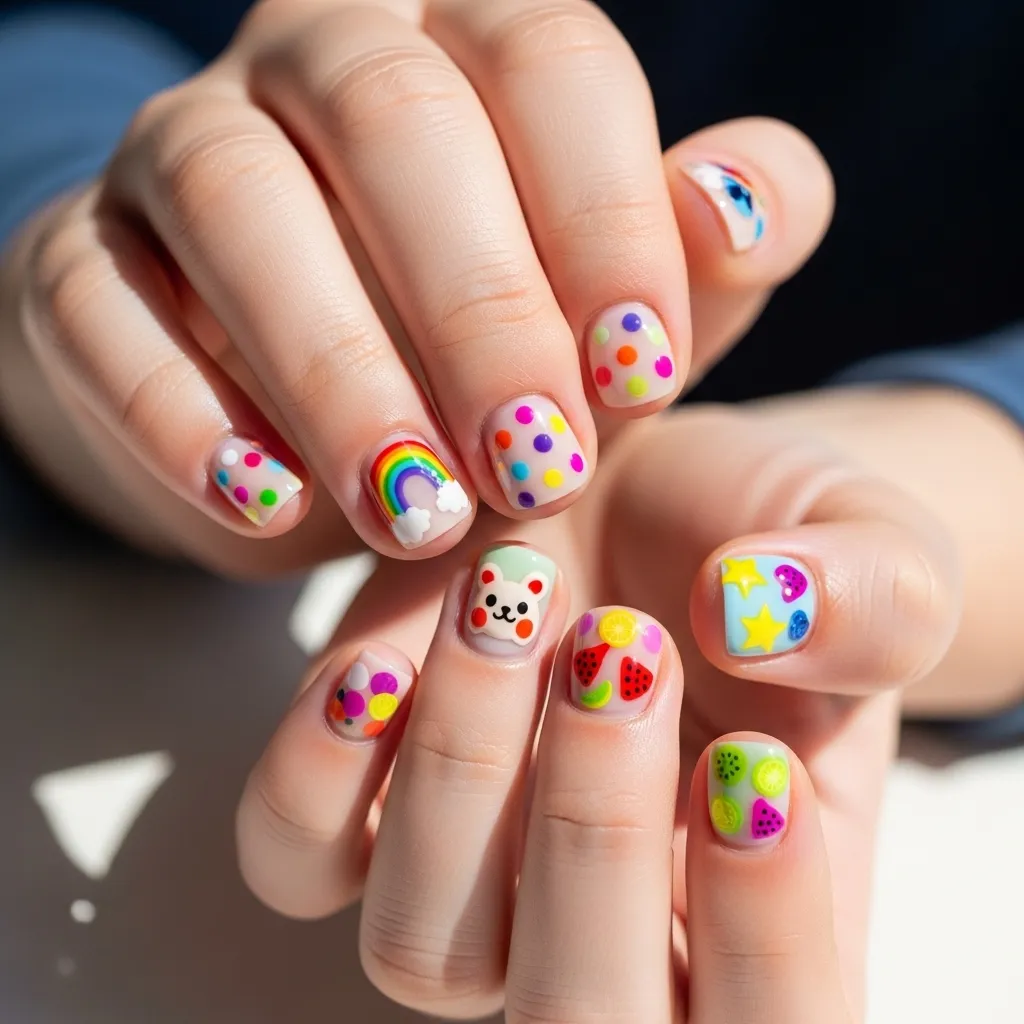
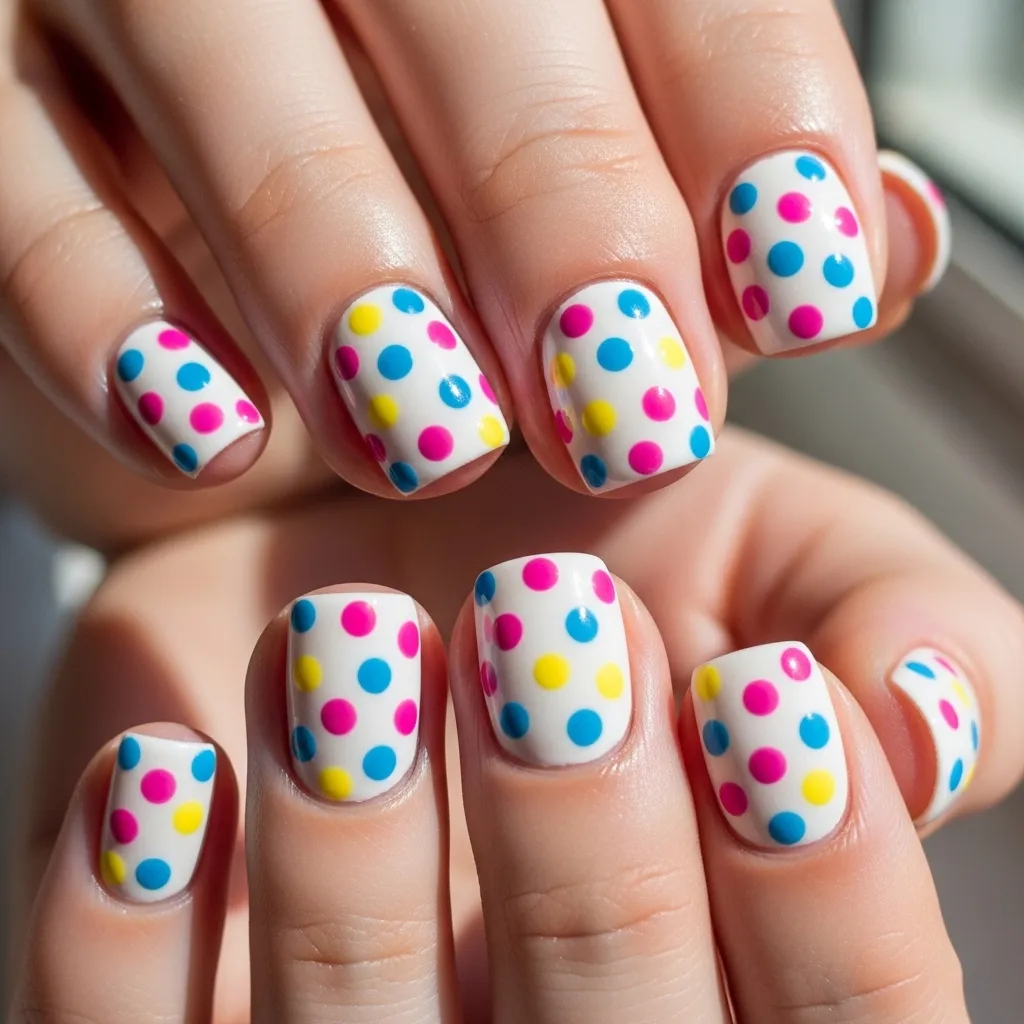
1. Polka Dot Party
This is our absolute go-to because it’s foolproof and always looks adorable. Start with a bright, solid color as your base. Once it’s completely dry, use the rounded end of a bobby pin or a proper dotting tool to add contrasting dots.
Let your kid choose the color combo! We love doing pink with white dots, blue with yellow, or even a rainbow of dots on a white base. The randomness is part of the charm.
2. Sweet Strawberry Nails
These are almost too cute to handle. Paint the nail a creamy white or a soft pink. Then, using a red polish, paint a rough triangle shape at the tip for the berry. The magic touch is a tiny green dot or a little “V” shape at the base for the leafy top.
It’s simpler than it looks and makes for the sweetest summer manicure. You can even add tiny black seeds with a fine brush or toothpick if you’re feeling detailed.
[[IMG:IMG:IMG03]]
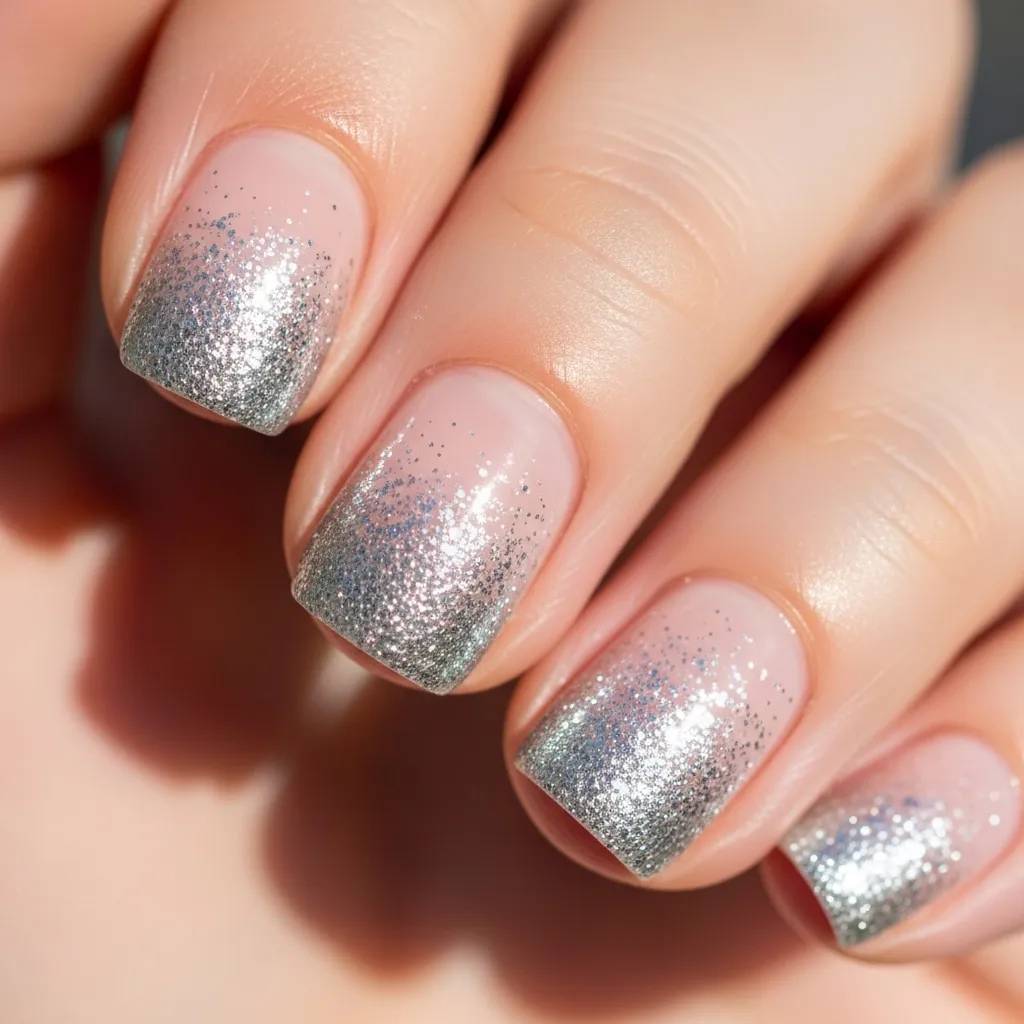
3. Glitter Gradient Tips
For a little sparkle without the full-glitter commitment, this is perfect. Paint the nails with a pale, pretty color. Before it dries, gently dab a makeup sponge with glitter polish onto just the tips.
It creates a magical, fading sparkle effect that’s subtle but stunning. My daughter calls these her “princess nails,” and cleanup is easier than with full glitter coats.
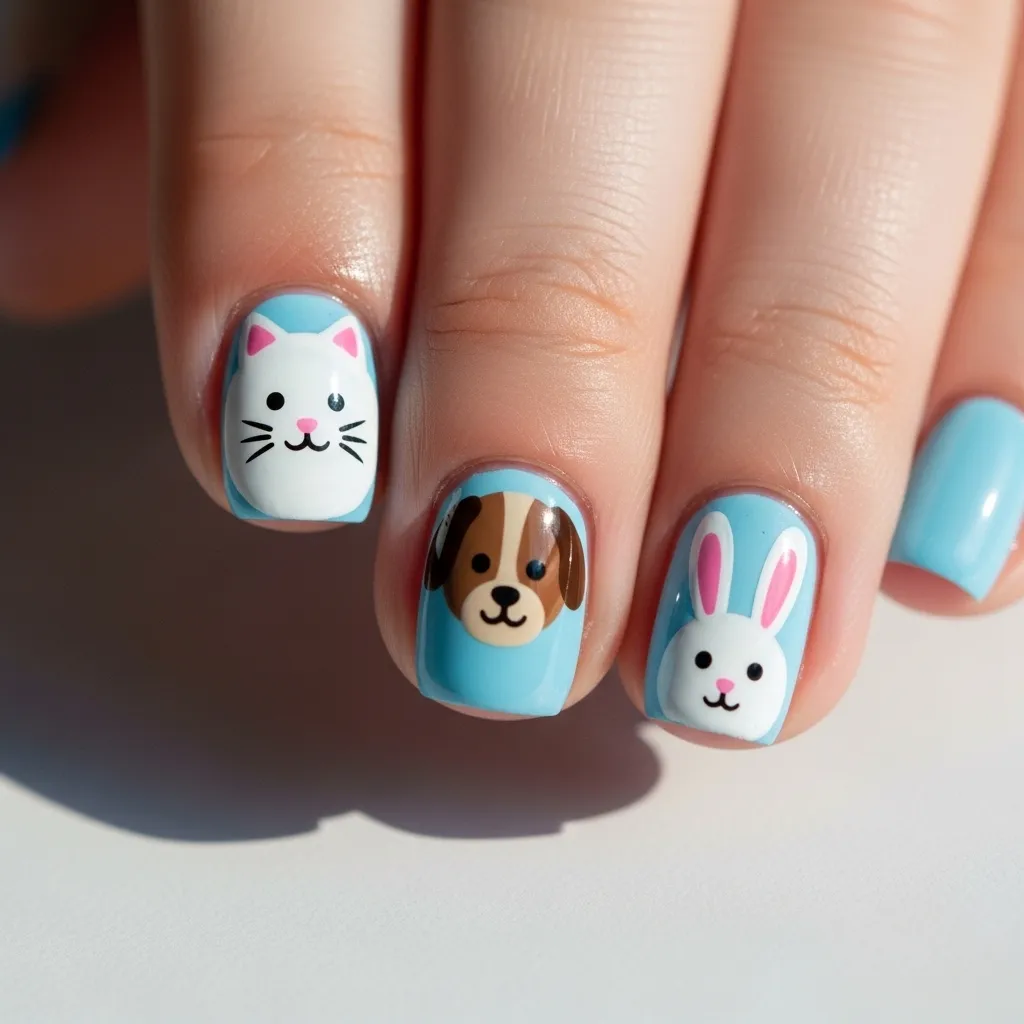
4. Friendly Animal Faces
Turn each nail into a mini canvas for a cute critter! A yellow circle with two black dots makes a perfect bumblebee. An orange triangle with black stripes is a tiger. A white base with black spots and ears? A darling dalmatian.
Keep it to one feature per nail so it doesn’t get overwhelming. These are a huge hit at birthday parties.
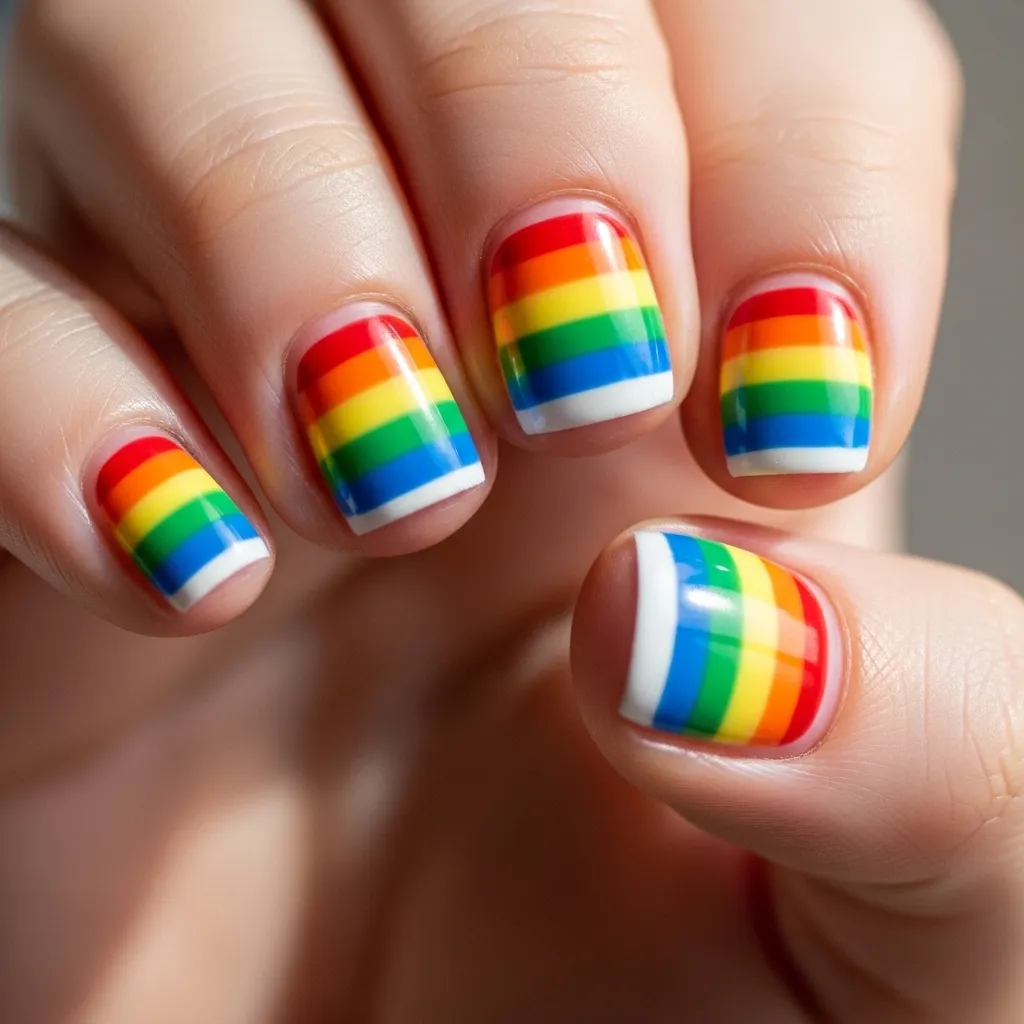
5. Rainbow Stripes
Embrace the color! Paint each nail a different rainbow color: red, orange, yellow, green, blue. For an extra pop, add a thin white or black stripe across the center of each nail using striping tape or a careful hand with a thin brush.
It’s bold, happy, and lets them wear all their favorite colors at once. This design is pure joy.
6. Easy-Peasy Flowers
Five dots in a circle make a perfect flower. Use a dotting tool to create a circle of petals in one color. Then add a different colored dot in the center. So simple!
You can do a single flower on an accent nail or a whole garden across every finger. Try pastel petals for spring or bright colors for a funky look.

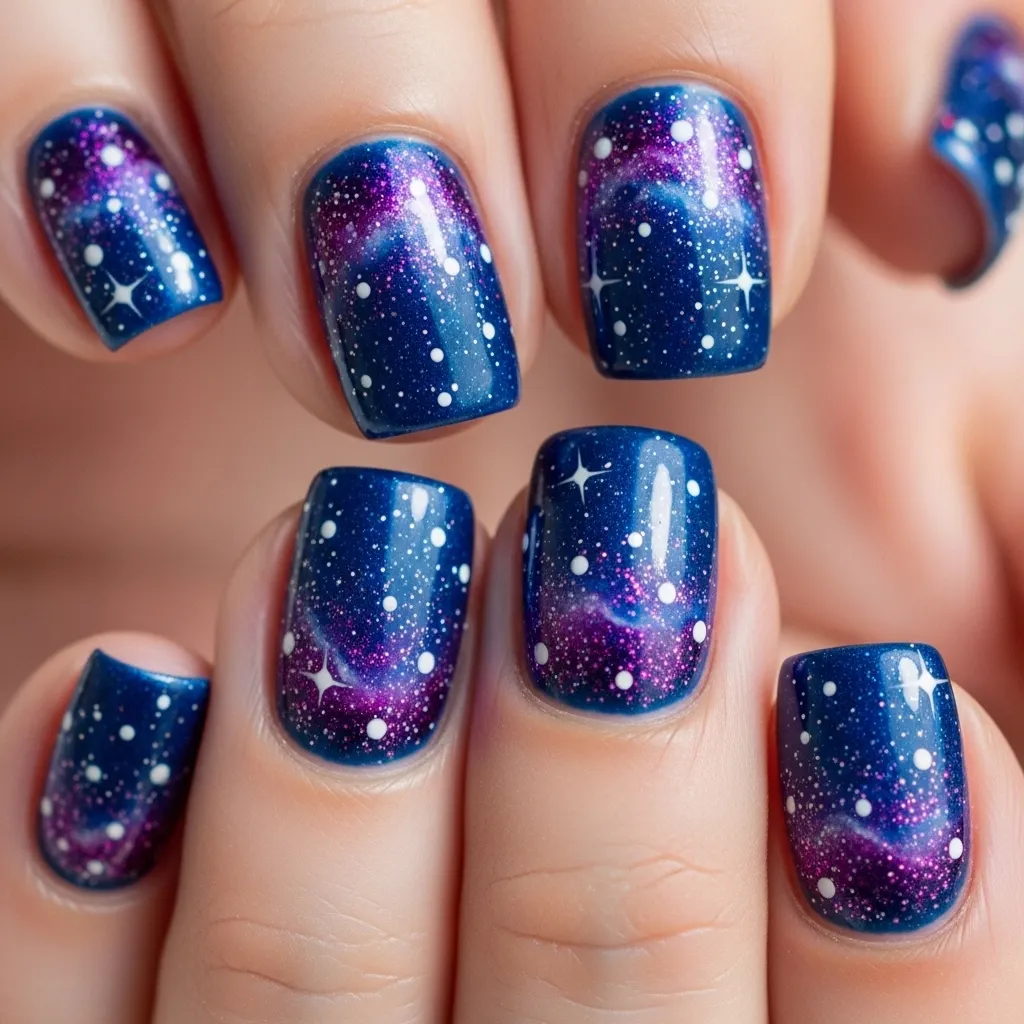
7. Cosmic Galaxy Nails
Create a mini universe! Start with a dark blue or black base. While it’s still a bit tacky, lightly dab on tiny bits of purple, pink, and blue with a sponge for a nebula effect. Finish by adding tiny white dots as stars with a toothpick.
It’s a messy, creative process that always yields a unique and magical result. Perfect for little stargazers.
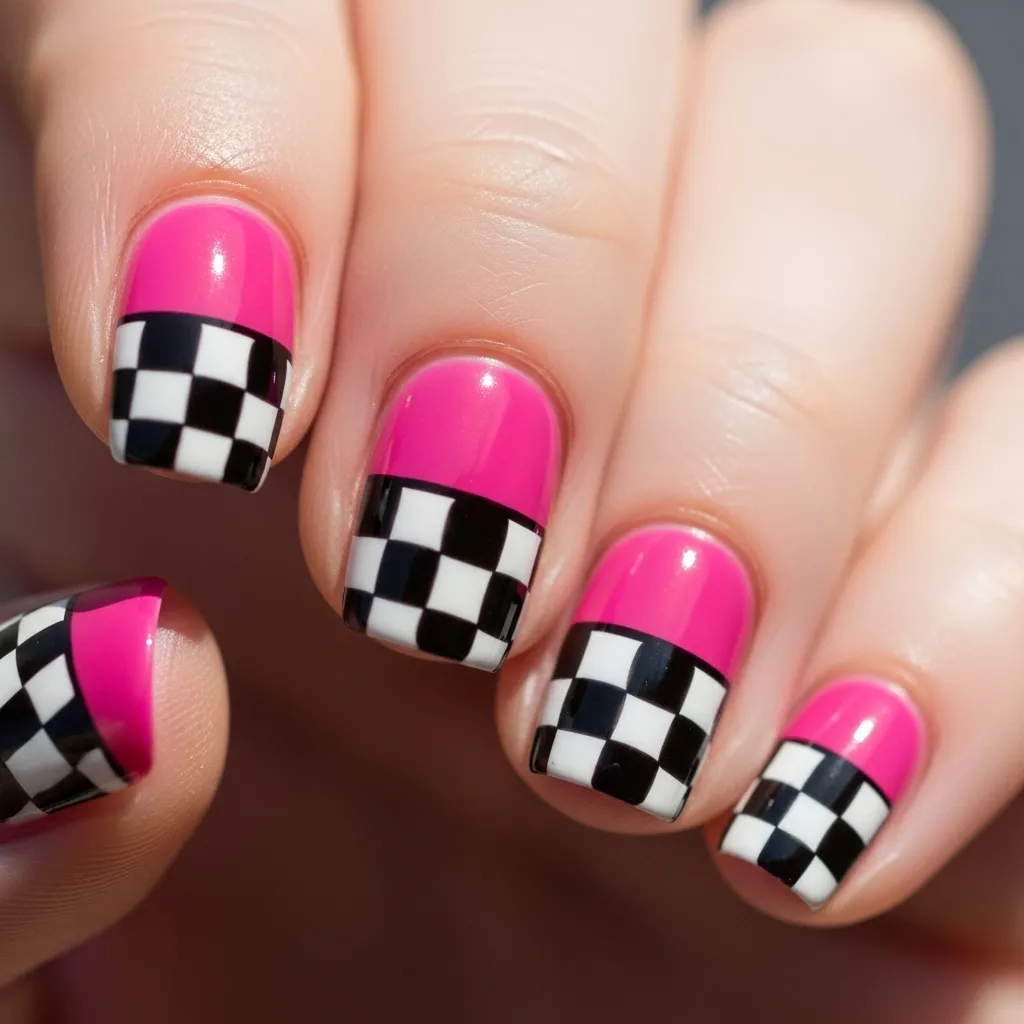
8. Checkerboard Fun
This looks tricky but is easy with tape. Paint the nail white and let it dry completely. Place two thin strips of tape to create a small square. Paint the exposed square black, then carefully peel the tape off.
You only need to do one or two accent nails for big impact. It gives such a cool, graphic look they’ll love.
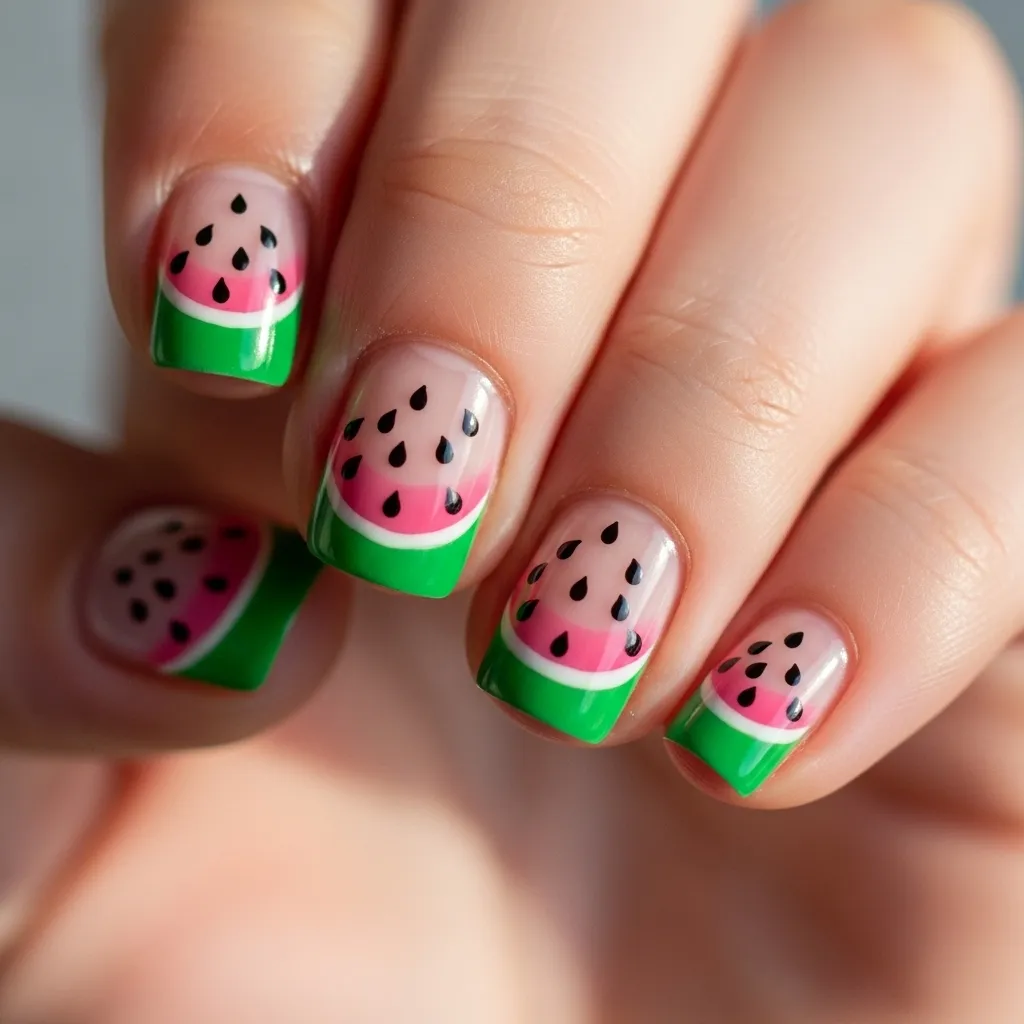
9. Watermelon Slices
A summer classic! Paint most of the nail a juicy pink or red. Then, paint the tip white for the rind, and add a thin line of green right at the edge. Don’t forget the little black seed dots!
It’s a playful, recognizable design that always gets compliments. You can even do just the thumb and pinky as watermelon accents.
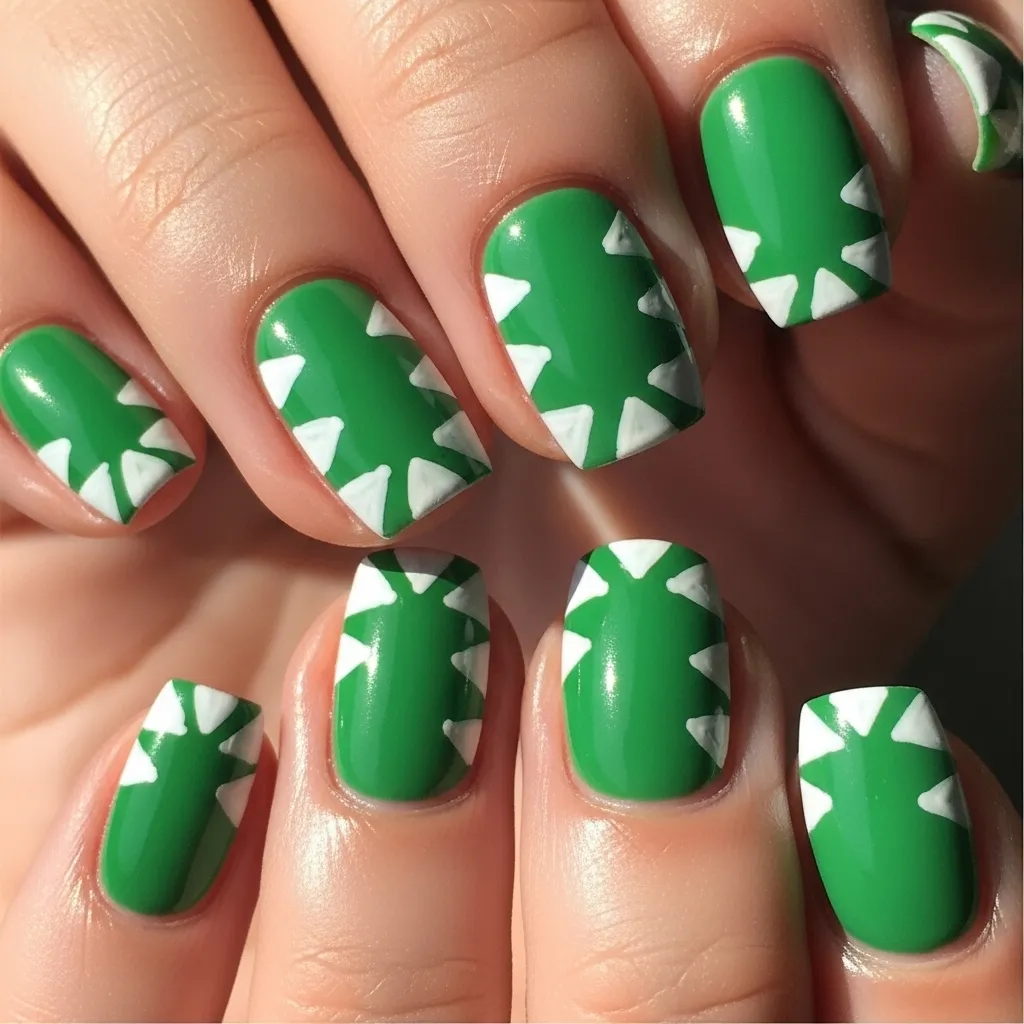
10. Dinosaur Spikes
For the dino-loving kid, this is a must-try. Paint the nail a fun color like green, blue, or orange. Along the tip, paint a row of simple triangles in a contrasting color to look like dinosaur spines.
It’s edgy, cool, and takes about two seconds per nail. Pair it with a solid color on the other nails for balance.
11. Confetti Celebration
This is the easiest way to a festive manicure. After a solid base color dries, take a few different polish shades and just randomly dot tiny, tiny specks all over the nail.
It looks like a party exploded on their fingertips! The more colors, the better. It hides chips well and is so cheerful.

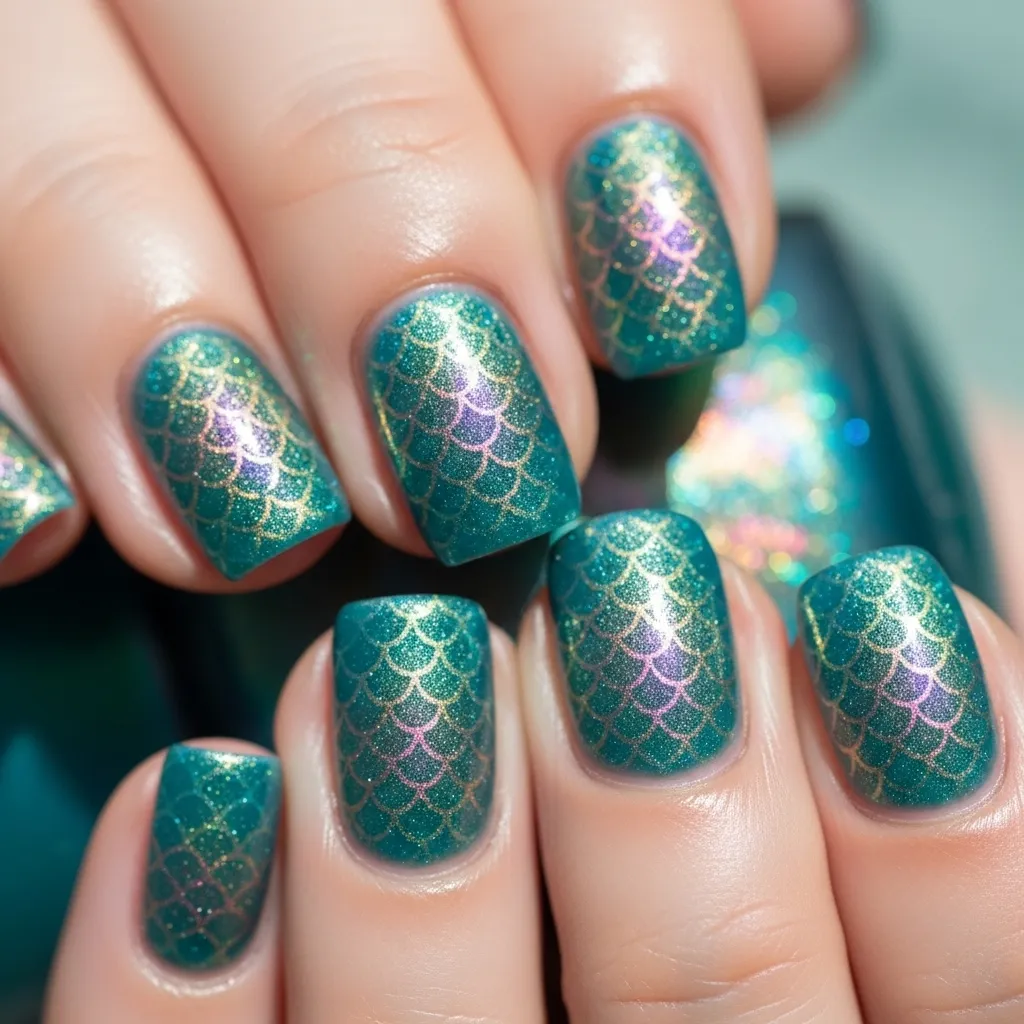
12. Mermaid Scales
Create an iridescent, scale-like effect with a fishnet stocking! Paint the nail with a shimmery teal or purple. While it’s wet, gently press a piece of fishnet fabric onto the nail for a second, then peel it off.
It leaves a beautiful textured pattern. Top with a clear glitter polish for extra mermaid magic.
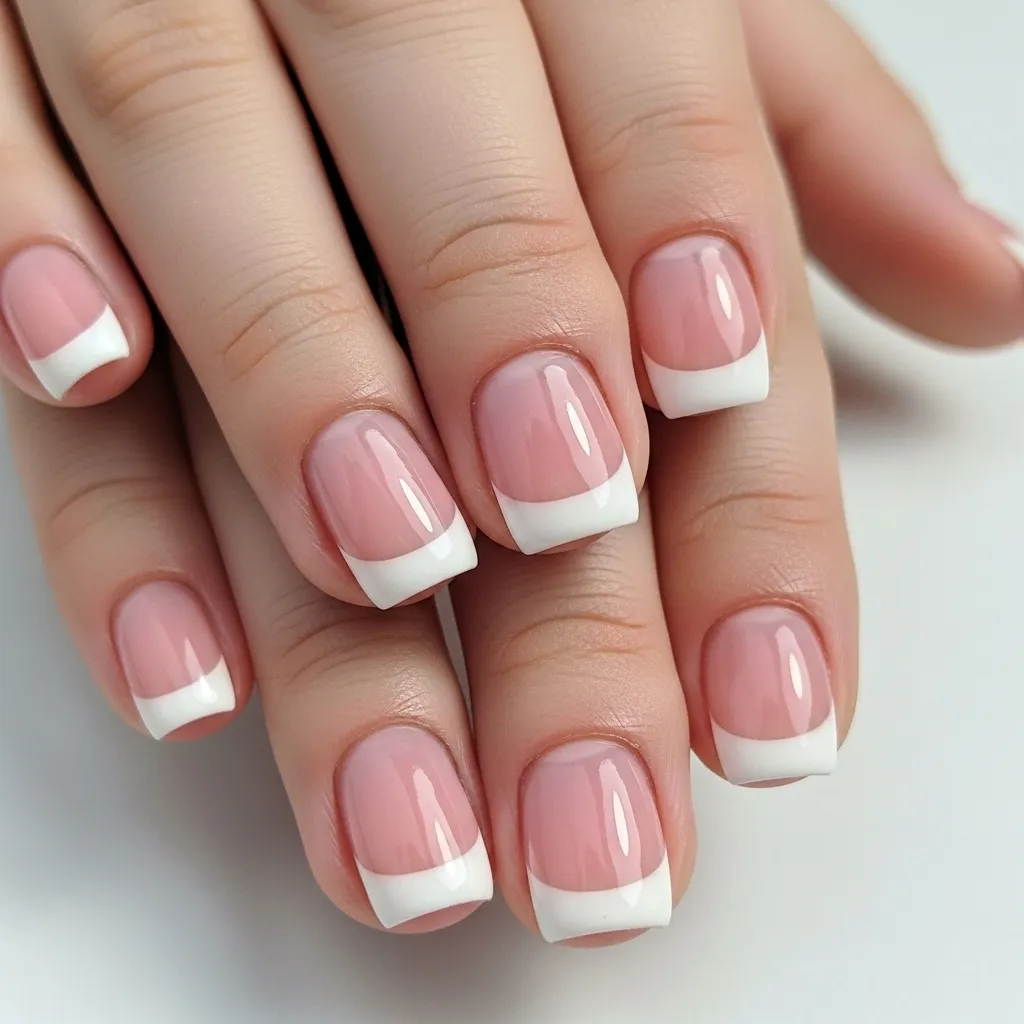
13. Simple French Twist
A classic, but make it fun! Instead of a white tip, use their favorite color. You can even do a different color on each nail for a rainbow French manicure.
For an even easier version, use nail guides or tape to get a crisp line. It looks polished (pun intended!) and grows out nicely.
Let’s Get Painting!
The best part of kids’ nail art isn’t the final look—it’s the time spent creating together. Don’t stress about perfection; wobbly lines and smudges just add to the charm. Let their personality shine through their fingertips. Remember to use non-toxic, kid-safe polishes and always have nail polish remover and cotton balls handy for the inevitable “oops.” Most importantly, have fun with it!
Quick Kids’ Nail Art FAQ
Q: What kind of nail polish is safe for kids?
A: Always look for water-based, non-toxic, and “3-free” or “5-free” formulas. These are made without harsh chemicals and often peel off easily, which is a bonus!
Q: How do I make the nail art last longer on active kids?
A: Start with clean, dry nails. Apply a thin base coat, let each layer of polish dry fully, and finish with a quick-dry top coat. Manage expectations—it might only last a day or two, and that’s okay!
Q: My child has tiny nails. Any tips?
A: Use the brush sparingly. A small dotting tool or even a toothpick is your best friend for details on little nail beds. Simple designs like dots or stripes work beautifully.
Q: How do I remove nail art without a fuss?
A: Soak a cotton ball in remover and hold it on the nail for 10-15 seconds before wiping. For stubborn glitter, use a foil wrap method. Make it part of the routine!
Q: What if we make a mistake?
A: Keep a small brush dipped in polish remover nearby for clean-up around the edges. Or, turn a smudge into a new design element! It’s all part of the creative process.